Smart schedules turn your TS Smart Home devices from simple remote switches into a fully automated home that works even when you forget.
What Are Smart Schedules?
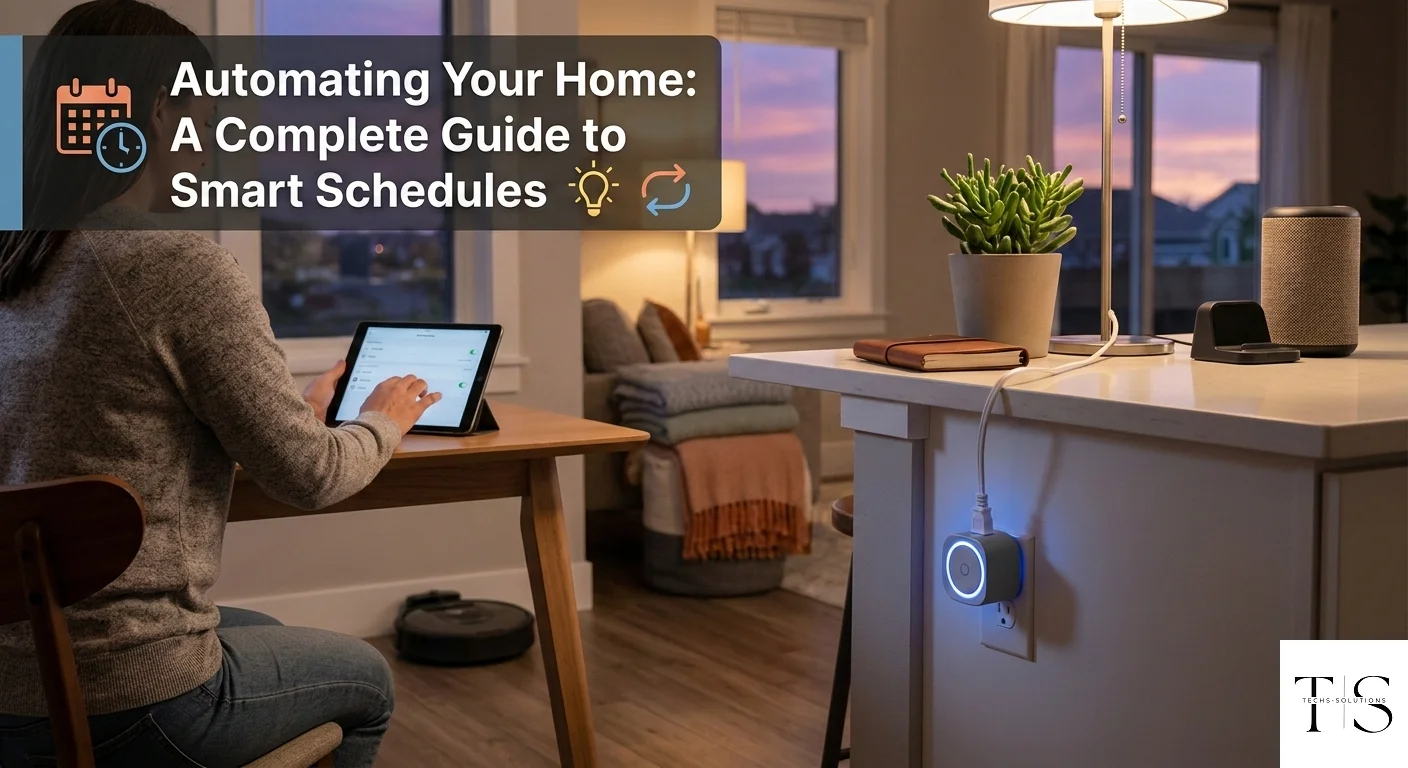
A smart schedule is a time-based rule that automatically turns a device on or off at a specified time. Schedules are stored in the TS Smart Home cloud, so they run even if your phone is off, out of battery, or out of range. This means your home automation continues working independently around the clock.
Creating Your First Schedule
Open the app, navigate to a device, and tap "Schedules." Tap the "+" button to create a new schedule. Set the days of the week you want it to apply, then choose the time and whether the device should turn on or off. Save the schedule and it will activate automatically at the next matching time.
- Daily schedules: Run every day at the same time — ideal for coffee machines or water heaters
- Weekday-only: Activate on workdays but not weekends — great for office equipment
- Custom days: Pick any combination of days that fits your lifestyle
- Multiple rules: Add both an "on" schedule and an "off" schedule to fully automate any device
Schedules execute from the cloud — they run reliably even if your phone is switched off, ensuring your automation never misses a beat.
Practical Automation Ideas
Here are some popular ways customers use schedules with their TS Smart Home devices: Turn off all plugs automatically at 1 AM to eliminate standby power waste. Turn on your water heater at 5:30 AM so it is hot by the time you wake up. Switch off the TV plug at midnight to prevent all-night viewing. Automate garden lighting to come on at sunset and off at sunrise.
Managing and Editing Schedules
All schedules for a device are listed on the device detail screen. Tap any schedule to edit it — change the time, days, or action. Toggle the switch next to a schedule to temporarily disable it without deleting it. Delete schedules you no longer need by swiping left on the schedule entry.
Ready to Automate Your Home?
Get your TS Smart Home device and start saving energy with smart schedules today.
Get Started